
Blog
How to make a leather blacksmith apron?

For anyone who is serious about metalwork, crafting a leather blacksmith apron is a worthy project. It not only provides safety from hot materials and sparks, but also enhances the user’s performance in the art. In this guide, you shall make some nice moves in hand crafting, leather increased functional and beautiful blacksmith apron. Let’s begin, shall we?
Benefits of Wearing a Leather Blacksmith Apron:
There is no doubt, leather is a perfect blacksmith apron material as it can withstand heat and is long lasting too. Typical fabric aprons resist heat and stains better than those used with a hammer or in a forge. Also, leather is a material that improves with age because it has a special aging process that helps develop a certain character of the owner’s work.
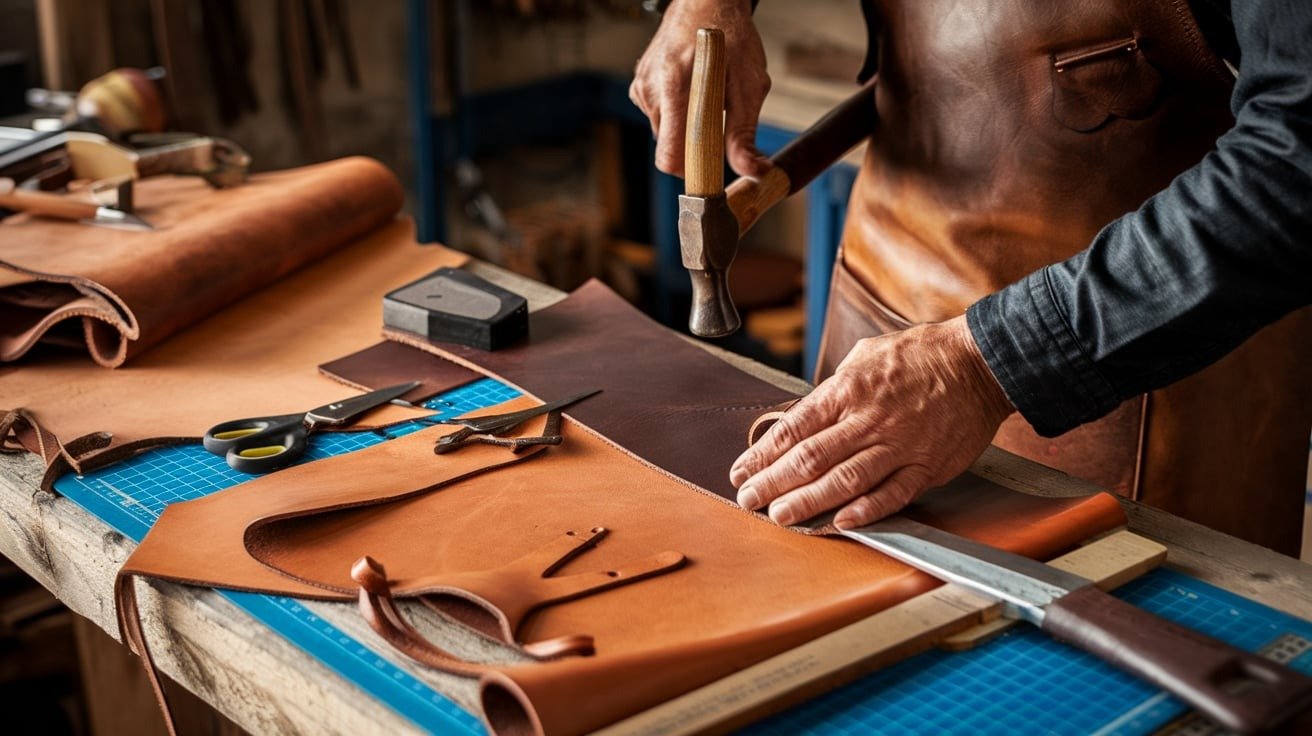
1: Measure and Cut the Leather:
First, one has to decide the size of hernik’s apron which will be made. The usual dimensions of blacksmith’s aprons are about 30 inches in breadth and 36 inches in height, but one can customize estimates depending on his or her body size and preferences.
- Measure your leather: the leather hide has to be laid on a cutting mat with its dimensions measured to coincide with those of the apron.
- Cut the leather: the central section of the trousers can be done with the pair of scissors, leather cutter or leather shear. Note that if any additional inches are required for hems, then those should be taken as well.
2: Prepare the Edges:
Unfinished rough edges can be irritating to the user as well as they may wear off after some time, hence the need to dress them properly.
- Smooth the edges by using a leather edger or sandpaper.
- Burnish the edges: by moistening them with a burnishing solution or water, then rubbing them with a dull wooden tool or cloth to seal.
3: Making the Neck Straps and The Waist Strap:
The straps connect with both aspects of comfortability as well as the functional aspects, thereby incorporating them in the design. It is possible to use more scrap leather for this purpose.
- Cut the straps: Cut two pieces for the neck strap and two for the waist straps. Each should be about 1 - 2 inches wide and long enough to fit comfortably on your body.
- Punch holes: Use a leather punch to create holes for the buckles at either end of the straps.
4: Assemble the Apron:
Now, we are ready to start joining all the parts.
- Attach the neck strap: Place the neck strap underneath where the apron falls and sew or rivet it.
- Attach the waist straps: Place the waist straps along either side of the apron and do the same.
5: Add a Personal Touch:

You can add extra elements like pockets or other designs for practical purposes.
- Pockets: Create additional pockets by making extra leather pieces adhered to the front side of the apron.
- Sew for decorative purposes: Make some decorative stitches using colored thread, they always give the aprons their own personal touch.
6: Care and Maintenance:
These care tips will help you in maintaining your leather blacksmith apron in optimal condition.
- Clean regularly: Rub the leather after using a moist fabric in order to get rid of dust and dirt.
- Leather Care: Take steps to restore and replenish the leather with a leather conditioner after a few months of losing its moisture to keep it soft and avoid creases.
- After using your apron: hang it in a cool, dry place to maintain its shape and prevent damage.
Conclusion:
Making a blacksmithing leather apron is such a great project which is rewarding both in terms of safety a nd looking good in the workshop. In short, it is possible to make every effort and achieve an apron that is comfortable to wear and durable for use in smith blacksmithing.